The products featured in this post were given to me by
Island Batik.
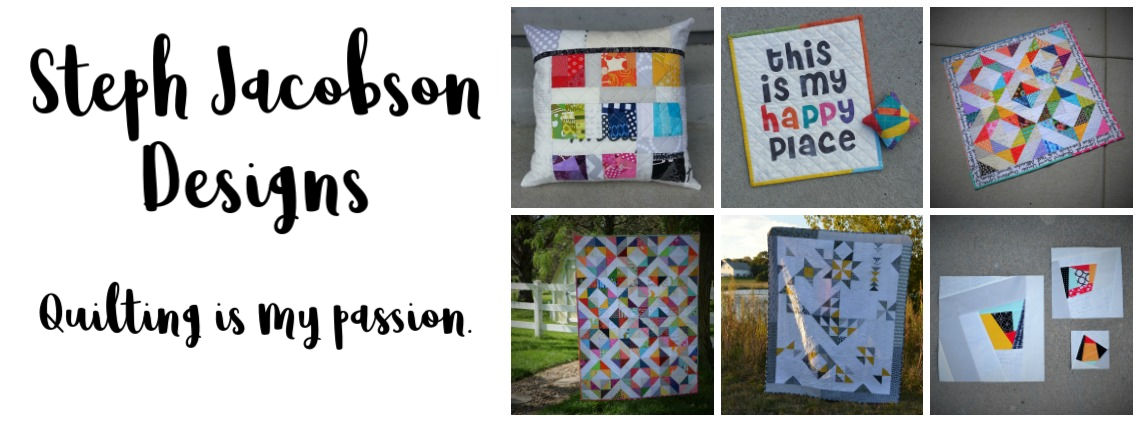
I'm back with my second Island Batik Ambassador February project...a mini quilt! I have made and own a LOT of mini quilts as I participated in quite a few swaps over on Istagram. (In fact, I now have far more mini quilts than I can display.) Mini quilts are a great way of trying out a new technique or using some beloved fabric without commiting to an entire quilt, and I enjoy decorating my sewing my space with them.
I love scrappy, bright colors so I knew right away I wanted to use these gorgeous
Elementz fabrics for my mini. (Normally I would post a pic of the beautifully-packaged Stack, but in my excitement I had already ripped into it and started cutting.) This collection is designed by
Tammy Silvers of Tamarinis. You should definitely
follow her on Istagram.
One thing I love about being an Island Batik Ambassador is the ability to freely create. Sure, there are some guidelines and a few requirements, but it's a wonderful feeling to just cut and sew and create something beautiful.
I'm a huge fan of text and inspiring words, so I knew I wanted some kind of word or phrase on my mini quilt. I decided on the word "maker" and used
PicMonkey to create an applique template of my word.
I need to do a little research and see if there's a way to reverse the text in PicMonkey. It would make the applique-making process a LOT easier...but it worked!
For the quilting, I decided on some some simple straight line, crosshatch quilting.
Just a little scrappy binding, and it is complete! To make the main part of the mini, I cut strips of fabric, sewed them together, cut them up again, and sewed them back together again. I didn't have an overall plan as far as size, and it ended up 11 inches square. It will look so bright and happy on my sewing room wall.
It's always nice when the back is as pretty as the front...crooked label and all! One of my favorite mini quilt tricks is sewing triangles (made from a square folded in half on the diagonal) into the upper corners. You can then use a dowel (or a bamboo skewer in this case) to make a hanger for your mini quilt. This makes it easy to hang it nice and straight on your wall.
Thanks for stopping by to check out my MiniLove project! I can't wait to get started on my March project of trying a new technique.